

AI Blog Workflow for Chiros: 7 Steps to Perfect Posts
![]()
![]()
![]()
![]()
![]()
![]()
~ Last Updated: September 18, 2025 ~
~ 9 Min Read ~
Look, I'm going to tell you something that most "AI blogging experts" won't.
They're giving you theory. I'm giving you the exact workflow I used to create this very article.
No fluff. No "maybe try this" suggestions. Just the real, step-by-step process that takes you from blank screen to published blog post in about an hour.
You want to know how I know this works? Because I literally just used these 7 steps to write what you're reading right now.
Pretty meta, right?
Here's the thing about AI blog writing for chiropractors. Everyone talks about how "game-changing" it is, but nobody shows you the actual workflow.
They give you vague advice like "use AI to write faster" without explaining what that actually looks like when you're sitting at your computer at 9 PM after seeing 30 patients.
So let's fix that.
The "Pull Back the Curtain" Moment: Why Most AI Blogging Fails


Most chiropractors try AI blogging exactly once.
They open up ChatGPT, type "write me a blog post about back pain," get some generic garbage that sounds like it was written by a robot having an existential crisis, and conclude that AI doesn't work for healthcare content.
Wrong approach. Wrong expectations. Wrong results.
The problem isn't AI. The problem is not having a system.
Think about it. You don't just walk into your treatment room and start adjusting random things on a patient. You have a process. Assessment, diagnosis, treatment plan, execution.
Same thing applies to AI content creation.
Why the "Magic Prompt" Approach Doesn't Work
Everyone's looking for the perfect prompt that magically creates amazing content. But here's what actually happens when you don't have a workflow:
You ask for a blog post. AI gives you something generic. You ask for it to be "more conversational." Still sounds robotic. You ask for it to be "more medical but not too medical." Now it's confused and so are you.
Forty-five minutes later, you've got nothing useful and you're frustrated.
Sound familiar?
The Real Secret: Process Over Prompts
The chiropractors who are killing it with AI content aren't using magic prompts. They're using repeatable systems.
They know exactly what to ask for, in what order, and how to guide AI through each phase of content creation.
That's what I'm about to show you.
Step 1: Foundation Setup (The Master Prompt Verification)


Every single blog post session starts the same way.
You need to verify that your AI understands your practice, your voice, your target audience, and your content standards. This isn't optional. It's the foundation that makes everything else work.
The Setup Process
Start your AI session with context, not content requests. Tell it who you are, what you're trying to accomplish, and what standards you expect.
Think of this like taking a patient history before you start treatment. You need background before you can create something valuable.
The key is consistency. Use the same setup approach every time so your AI "remembers" how to write in your voice and for your audience.
Pro Tip: Give AI context by uploading your relevant master prompts - your business overview, writing style guidelines, and target audience details. This eliminates guesswork and ensures consistency across all your content.
What Good Verification Looks Like
You'll know your setup worked when the AI responds with understanding of your practice focus, acknowledges your content goals, and asks clarifying questions about your specific needs.
If it just says "sure, I can help with that" without showing understanding of your chiropractic context, try again. Foundation matters.
Step 2: Strategic Topic Selection and Headline Creation


Now comes the fun part. Picking what to write about.
But here's the thing - you're not picking topics that interest you. You're picking topics your patients are actually searching for.
Big difference.
Your fascination with the latest research on vertebral subluxation theory? Probably not what someone types into Google at 2 AM when their back is killing them.
The Research-First Approach
Start by having AI research what people in your area are actually searching for. Not what you think they should be searching for. What they ARE searching for.
This means analyzing search trends, patient questions, and pain points related to your specific practice focus. You're looking for topics that have demand but aren't oversaturated with content from other practitioners.
The key is understanding search intent. Are people looking for general information ("what causes lower back pain") or are they ready to find solutions ("chiropractor for sciatica near me")? Different search intents require different content approaches.
For a complete deep dive into this research process, check out our guide on AI-powered keyword research for chiropractor blogs. But the basic approach is simple: ask AI to identify high-demand, low-competition topics that align with your practice specialties and patient demographics.
The Headline Generation System
Once you've got your topic nailed down, you need a headline that actually gets clicked.
Ask for 10 variations. Not 3, not 5. Ten. You want options.
Look for headlines under 60 characters that include your main keyword and promise a specific benefit or outcome. Avoid clever wordplay. Go for clear value.
The headline for this article? I generated 15 options before landing on this one. It wasn't the first choice. It was the best choice.
Step 3: Research-Driven Outline Creation
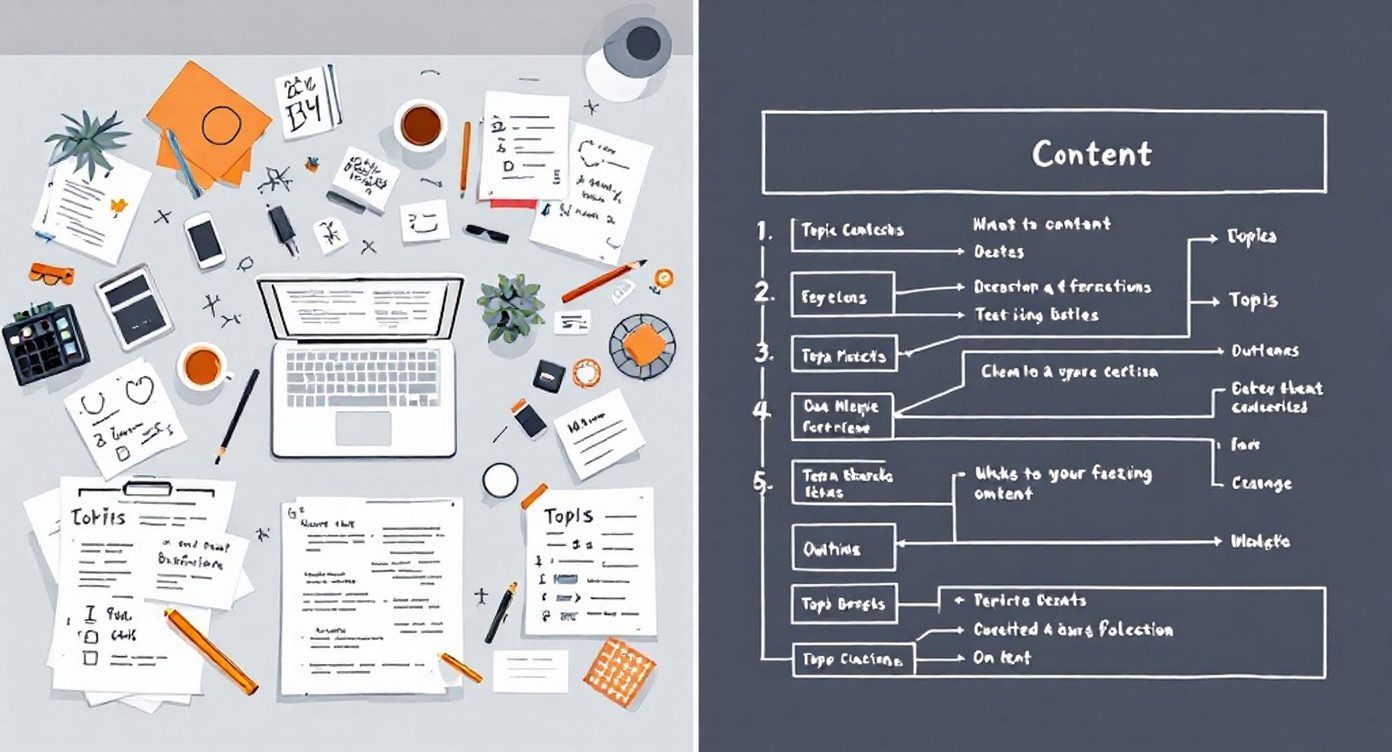

This is where AI really starts to show its power.
Instead of just asking for an outline, you're going to have AI do deep research FIRST, then create an outline based on what it finds.
Think of this like doing X-rays before creating a treatment plan. You need to see what you're working with before you decide how to approach it.
The Deep Research Phase
Ask AI to research your topic from multiple angles. Current best practices, common patient concerns, recent studies, what competitors are covering, and what gaps exist in existing content.
Don't skip this step. The difference between mediocre AI content and exceptional AI content is the deep research phase.
You want AI to understand the landscape before it starts creating content. Otherwise, you get generic fluff that could apply to any healthcare practice anywhere.
From Research to Outline
Now that AI understands the topic deeply, ask it to create an outline that serves your specific practice goals.
Not just any outline. An outline that converts readers into patients.
This means including sections that build trust, demonstrate expertise, address common objections, and provide clear next steps for people who need your help.
Your outline should tell a story that moves someone from "I have a problem" to "this chiropractor can help me solve it."
This strategic approach to content creation is what separates effective AI blog writing for chiropractors from generic health content that doesn't convert readers into patients.


The outline AI creates is never perfect on the first try.
And that's okay. This isn't about AI being "smart enough" to nail it immediately. This is about using AI as a collaborative partner in the content creation process.
Your job is to guide it toward what actually serves your practice and your patients.
The Outline Review System
Read through the proposed outline and ask yourself specific questions. Does this address what patients actually ask me? Will this help someone decide to book an appointment? Does this demonstrate my expertise without being boring?
If the answer to any of those is no, it's revision time.
Don't accept generic healthcare content. Push for content that sounds like it comes from YOUR practice, addresses YOUR patients' concerns, and reflects YOUR approach to treatment.
The Value-First Filter
Every section of your outline should provide real, actionable value to someone reading it.
No filler. No generic health tips they can find anywhere else. No overly technical explanations that only other chiropractors would understand.
Ask yourself: "If I were a potential patient reading this, would I learn something useful AND want to know more about this practice?"
If not, revise until you get there.
Step 5: First Draft Creation (Following Your Templates)


With your outline locked in, it's time for AI to write.
But there's a specific way to prompt this that gets you content matching your voice, following your format requirements, and including all the elements that actually convert readers.
You're not just asking for "a blog post." You're asking for content created according to your specifications.
The First Draft Generation Process
With your outline approved and your AI already loaded with your master prompts, it's time to execute. This isn't about giving AI basic instructions - it should already know your voice and standards from Step 1.
This is about giving AI the specific context for THIS article: your target audience for this topic, any unique angles you want emphasized, and specific patient scenarios that would illustrate key points.
The key prompt elements: reference your approved outline, specify any practice-specific examples that should be woven in, and remind AI to include [H1], [H2], [H3] formatting tags for easy website transfer.
You're not teaching AI how to write - you're directing it on what to write.
Quality Control During Generation
As AI creates content, watch for voice consistency, factual accuracy, and adherence to your format requirements.
If it starts sounding robotic or generic, stop and redirect. If it makes claims you can't verify, flag those for revision.
Remember, you're still the expert here. AI is helping with the writing process, but you're responsible for the clinical accuracy and professional standards.
Step 6: The Revision Loop (Read, Note, Improve, Repeat)
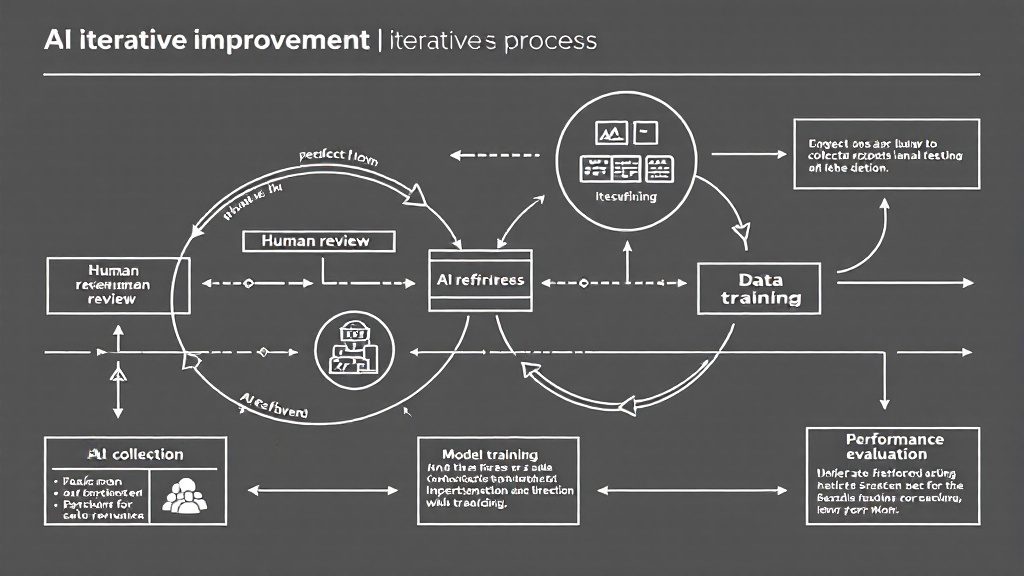

The first draft is never the final draft.
Even with perfect prompts and clear guidelines, AI-generated content needs human refinement to really shine.
Here's my specific system for turning good AI content into great published content.
The Reading and Note-Taking System
Read through the entire article once without stopping to edit. Just read it like a patient would read it.
Take notes on what feels off, what could be clearer, what's missing, and what sounds too robotic or generic.
Don't try to fix things as you go. Just document what needs attention. This gives you a complete picture of what needs work before you start making changes.
The Revision Conversation
Give AI your list of changes along with specific guidance on what you want adjusted.
Be specific. Instead of "make this more conversational," try "rewrite this section to sound like I'm talking to a patient face-to-face about their concerns."
Instead of "add more personality," try "include a brief patient scenario that illustrates this point without using real names."
Specific feedback gets specific results.
And here's a pro tip: Ask AI if it has questions about your requested changes before it implements them. Sometimes clarifying the direction up front saves multiple revision rounds.
Step 7: From AI to Published (The Final Steps)
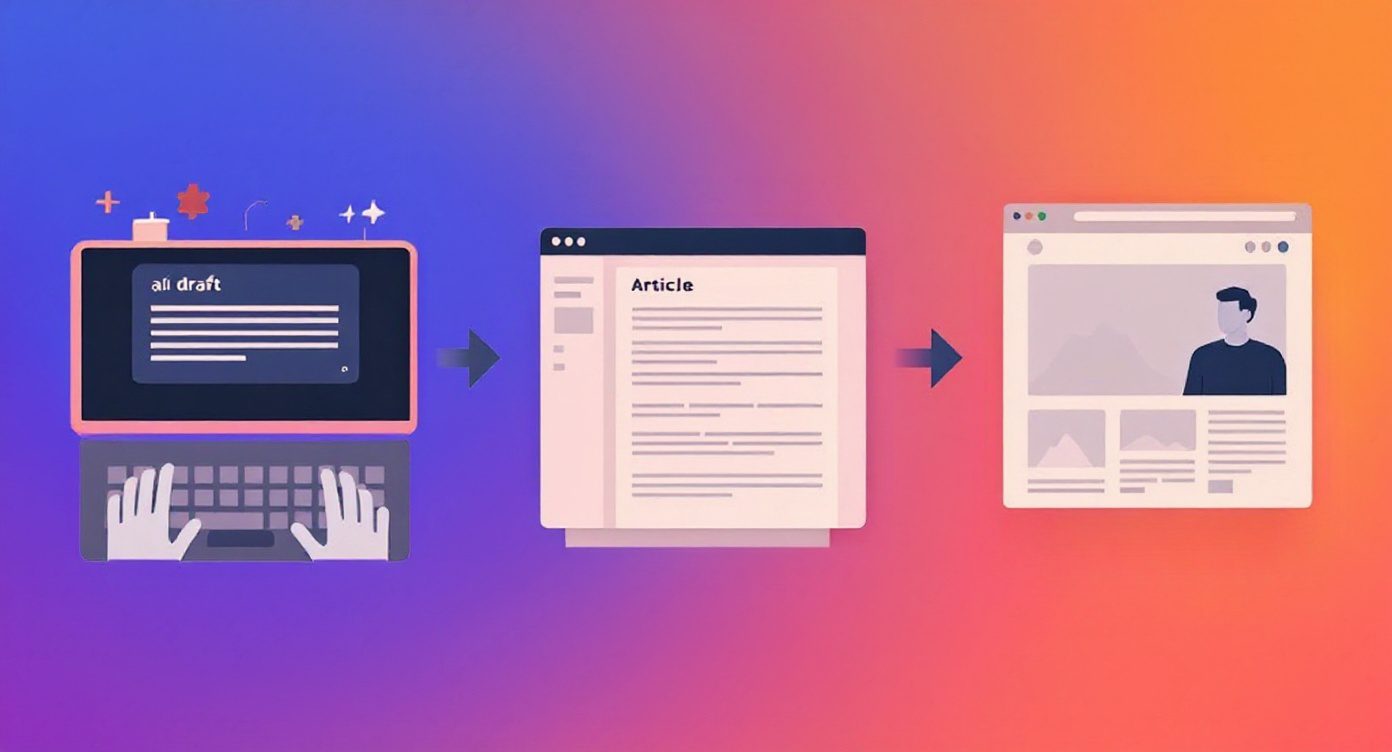

Your content is written, revised, and ready to go.
But you're not done yet. These final steps are what turn your AI draft into a published blog post that actually gets found by patients and converts readers into appointments.
Step 1: Create Your Images
Start by generating images using the AI image prompts included in your content. Use your favorite AI image generation tool - whether that's Nano Banana, Midjourney, Flux-Pro, or whatever new "best in class" tool has launched by the time you're reading this.
The landscape of AI image tools changes rapidly, so use whichever platform gives you the best results for professional, healthcare-appropriate imagery.
Place these images strategically after your H2 headings for maximum visual impact and reader engagement. Look at where my images are.
Step 2: Organize Everything in Google Docs
Copy your complete article from the AI platform and paste it into Google Docs for final organization and editing.
Include image placement within the document so you can see the full layout, but keep the actual image files separate. This makes collaboration easier if you have team members involved, and the copy-paste formatting to most website platforms stays cleaner.
Use the [H1], [H2], and [H3] tags AI included to quickly format your headers when you publish.
Step 3: Publish to Your Website
Copy your content from Google Docs to your website and format the headers using those handy tags. Upload your images separately and insert them in the designated spots.
Don't forget the technical elements: Meta Title, Meta Description, Keywords, Featured Image, and Schema Markup. These are what help Google understand and rank your content properly.
Do a final proofread, check that your calls-to-action are clear and compelling, and make sure your content flows logically from problem to solution.
Then hit publish and move on to your next post.
Your Implementation Plan (Start This Week)
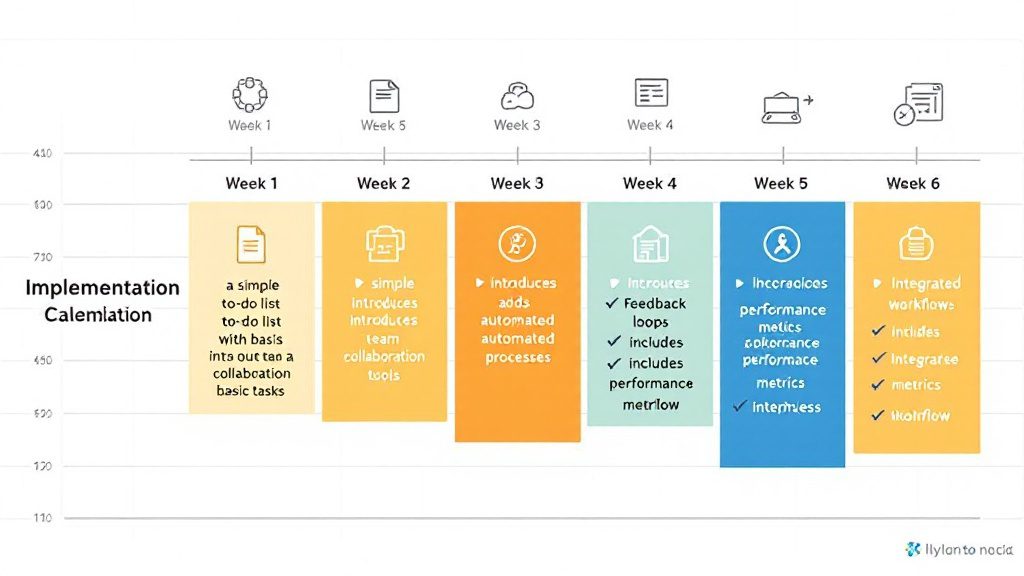

Don't just read this and move on.
Here's exactly how to implement this workflow in your practice, starting with your next blog post.
The key is starting simple and building consistency before you worry about optimization.
Week 1: Your First AI Blog Post
Pick a topic your patients ask about frequently. Follow the 7-step process exactly as outlined. Don't try to customize or improve it yet.
Time yourself on each step. See where you get stuck. Notice what feels natural and what feels awkward.
The goal is completion, not perfection.
Weeks 2-4: Refine and Optimize
Create your own setup templates based on your practice focus and patient demographics. Develop topic lists based on your most common patient questions.
Build your revision checklist based on the issues you noticed in your first few posts.
Start timing yourself to see which steps take longer than expected and where you can improve efficiency.
Month 2 and Beyond: Scale and Systematize
Once you're comfortable with the process, consider batching content creation or training team members to handle parts of the workflow.
Track which topics generate the most website traffic and patient inquiries. Double down on what works.
Remember: consistency beats perfection every single time.
The complete strategy behind effective content marketing is covered in our comprehensive guide to AI blog writing for chiropractors, but the workflow you just learned is what makes it all executable.
Gut Check: When This Process Isn't Worth Your Time
Look, all of this is 100% doable. The workflow works. The results speak for themselves.
But let's be honest about something important.
Even with this streamlined process, you're still looking at consistent time investment to make content marketing work for your practice. And maybe you just don't have the time. Or maybe you don't want to train your staff on AI workflows and content creation.
Or maybe you'd just rather have experts handle it for you.
That's completely valid. You became a chiropractor to help patients, not to become a content marketing specialist.
If the thought of implementing this workflow feels overwhelming, or if you'd rather spend your time seeing patients instead of creating content, we handle the entire process for chiropractors just like you. From AI-powered topic research to publishing, with all the optimization and conversion elements built in.
Check out how we handle content creation so you can focus on what you do best - helping patients get better.
TLDR: The Complete 7-Step Process
Here's the entire workflow from start to finish:
- Foundation Setup - Verify AI understands your practice, voice, and content standards
- Topic Selection - Research what patients actually search for and create compelling headlines
- Outline Creation - Have AI research your topic deeply, then build a strategic outline
- Content Review - Refine the outline to match your practice goals and patient needs
- First Draft - Generate content following your templates and formatting requirements
- Revision Loop - Read, note improvements, and refine until the content sounds like you
- Publish Process - Create images, organize in Google Docs, then publish with all SEO elements
To your dreams...


Gerek Allen
Co-Owner iTech Valet
Entrepreneur, patriot, CrossFit junkie, IPA enthusiast, loves to travel to tropical destinations, and knows way too many movie quotes.
About iTech Valet
iTech Valet specializes in web design and content marketing for online entrepreneurs who want to share their expertise.
Services Include:
- Web Design
- Graphic Design
- Sales Copy
- Funnel Building
- Authority Sites
- Membership Sites
- Course Creation
- Email Systems
- Content Marketing
- Competitive Analysis
- Tech Integrations
- Strategic Planning






Step 4: The Review and Revision Process